Should I teach my child to write in cursive?
When you imagine teaching cursive to 3-6 year olds you might think, “It’s going to be too hard!” However, the materials and progression used in Montessori makes it very straightforward. Montessori lessons are completely flexible for teacher and student. When you know how to use the Montessori method, you can easily go from learning letter sounds (phonemic awareness) to reading and writing full sentences. I have seen this happen in less than one year’s time, depending on the child’s readiness and if they are in a sensitive period for language acquisition.
If you are still deciding whether or not you should teach your child cursive or print in the first place, you may want to read some additional articles on the topic.
- Scholastic.com: How Cursive Writing Practice Benefits Literacy
- Optometrist’s opinion: Why do we need cursive writing?
- My own opinion: Why I bother teaching my kids cursive
For now, I will assume you or your school has made the choice to start with cursive. I want to offer some insights and ideas on how to proceed.
The key to teaching cursive
The key to teaching cursive is high-repetition, and high-interest lessons. I always aim to connect with students personally – to their energy level, interests, and meet them where they are. Some writing curricula move on too fast or slow for a child, which leads to frustration for both teacher and student. I know that if today they are struggling to recall two different letter sounds, possible tomorrow or next month, they will fly through the whole alphabet. So if you are a homeschooling parent, trust and enjoy the process of teaching cursive and reading, no matter the pace.
A note about worksheets – I have created many printable materials to assist in learning, however, please do not get the impression that in the classroom we are sitting kids down with sheets as their primary means of work. The worksheets are supplements and can be made very fun! For example, I had a student who loved the “Grease” musical movies, so I created individual worksheets featuring the names and pictures of the characters in different colors and she absolutely loved it. We weave worksheets in to lessons as needed, and early on in the process we should not be using them at all, or only sparingly.
The 3 most essential materials to teach cursive the Montessori way
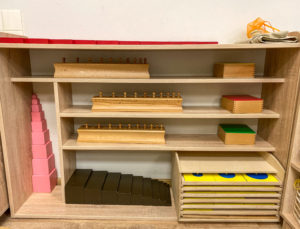
Every Montessori classroom has a large area dedicate to language, and if you are just starting a classroom or working on cursive at home, the following materials are essential when teaching cursive. As of 2021 when I write this post, many dedicated Montessori sellers are unable to keep up with demand, and if you need materials soon, Amazon is likely your best option, just be careful and read the reviews, this is why I’m not posting any links here!
Cursive Sandpaper Letters*
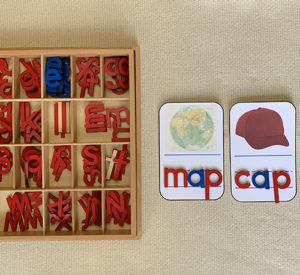
Cursive Moveable Alphabet
Lined Mat
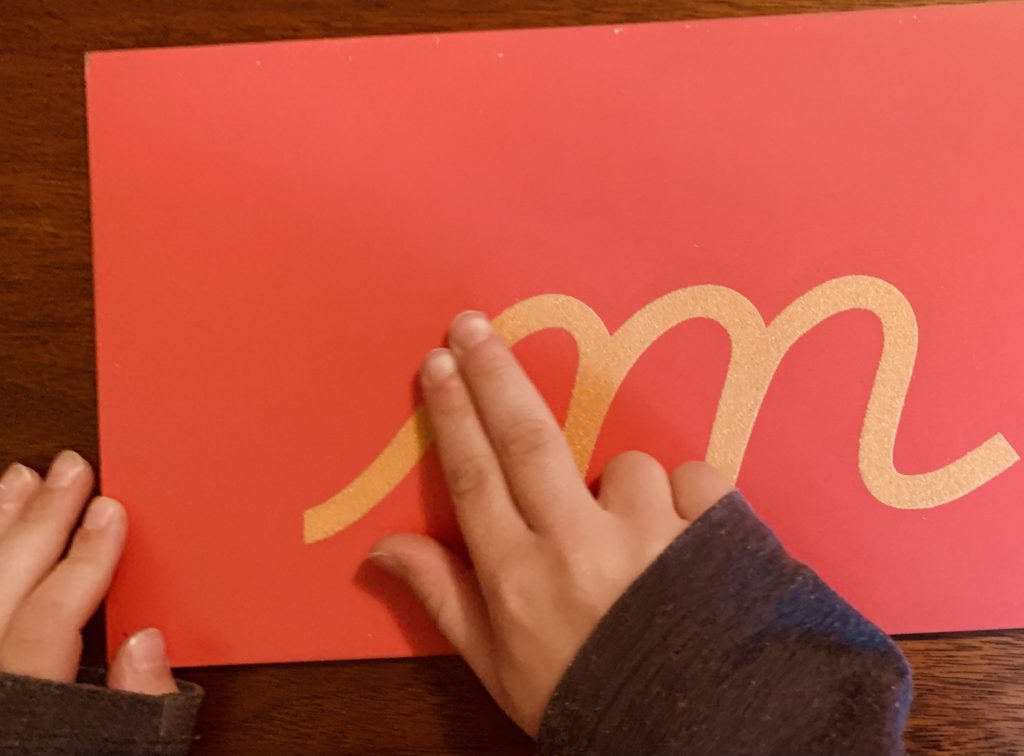
*Note: during the pandemic I taught my remote students how to read, write, and spell, in cursive without using the sandpaper letters, but I did advise my families to purchase a moveable alphabet and lined mat for home use. Instead of sandpaper letters, I created my own “rainbow letters” using the gorgeous and painstakingly-created School font by font designer David Occhino. Through using these templates, the children got plenty of practice in symbol recognition, tracing, and the letter sounds in a fun way while introducing plenty of repetition.
Pros and cons of DIY Montessori Materials
While I firmly believe that budgeting for essential Montessori materials is required if you plan to homeschool, if your budget is tight, there are DIY Montessori materials you can use. I suggesting printing on heavy cardstock (I do not recommend laminating as you cannot recycle laminated materials and the shine may introduce a visual distraction for children). If at all possible, go the extra mile with your DIY and either hand trim out the inner spaces and outlines, or you may even be able to send the file to your local library if they offer laser cut printing.
The exciting part: teaching beautiful cursive!
-
Materials:
- Sandpaper letters (lowercase)
- Rug
- Child-sized table and chair
Introduce the Sandpaper letters using a 3 period lesson:
- Show the child how to carry the sandpaper letters to the rug.
- Say, “Today I want to show you some special letters. These are called the sandpaper letters.”
- Select a letter and hold it with two fingers, trace the letter and say the sound it makes. For example, “Em says mmmm.”
- Invite the child to trace the letter with their finger while saying the sound.
- Repeat with additional letters.
Follow the child:
- If you introduce 4 letters and it is overwhelming, frustrating, or the child cannot seem to progress past the first period, reduce the number of letters to 2 or 3.
Model tracing silently:
- Humans cannot multitask successfully. Research has shown that doing two things simultaneously diminishes the quality of both activities. This is important as it relates to teaching. Children can either watch or listen, but it is harder for them to do both. So in Montessori, we keep talking to a minimum when demonstrating lessons, and only speak before or after we wish to draw attention to something. What this looks like is tracing the letter slowly and deliberately, and then saying the sound, “mmmm.”
Offer high interest opportunities for repetition:
- Your child should not simply trace the sandpaper letters, but also write and trace in other ways that keep frustration low and interest high. The reason we do not immediately move from sandpaper letters to writing with a pencil is that many children find it frustrating, especially if they have not developed hand strength, yet they have developed their ability to recognize symbols. When the hand cannot do what the mind tells it, that is when frustration begins. So we offer activities like sand tray tracing, rainbow letters (which teach the cursive writing pathway with an emphasis on color work, not necessarily accurate and perfect formation), use of a chalkboard (easy to erase if a mistake is made).
The counterintuitive genius of spelling phonetically before reading
Children can begin encoding simple words with their cursive moveable alphabet once they have learned 4-5 letter sounds and symbols. Encoding involves breaking down words into sounds and producing the symbol that represents each sound. Maria Montessori observed that children can spell and “write” words before they can read them or write them by hand. This is why the moveable alphabet is a favorite material in the classroom. It unlocks language for children and makes them feel special. We spend as much time as needed in this stage: tracing sandpaper letters, saying letter sounds, and dictating words and short sentences.
The admitted difficulty of decoding in cursive
Learning to write and read in cursive has a major downside – there isn’t as much cursive material for children
compared to print. Unless you create materials by hand or have an accurate D’Nealian font to make your own worksheets, it can be a challenge. That’s why I’m dedicated to creating cursive support materials like my popular Cursive Bingo Bundles. If you need something specific using a well-researched and accurate D’Nealian font, feel free to email me.
So when does my child finally learn to write in cursive?
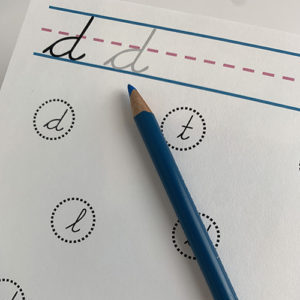
We’ve covered phonemic awareness, decoding, tracing and replicating single letters by hand. Now, it’s time to teach cursive linking of letters, writing words, and short sentences. We can start using writing paper when the child is ready.
I usually give a large grid for the child to write on. However, there’s debate on whether to start writing on lined or unlined paper, so I created lined paper templates with 15 styles to choose from. Some children find lines frustrating, while others find them helpful. Knowing the child and offering what works best is key.
When a child is ready to link letters, I show them how to write without lifting the pencil and encourage them to try. From then on, we write in cursive on paper. We may need sandpaper letters to review specific letters. Keep the topics related to what the child likes.
What about uppercase letters?
Teach capital letters as needed. Demonstrate how to write them if the child wants to spell their name or label a map. You don’t have to purchase the sandpaper and movable alphabet materials, though they can be helpful. What’s important is demonstrating how to write the letters and giving the child opportunities to practice. If a child struggles with a capital letter, try using a chalkboard, sand tray, or uppercase rainbow letters. These should be enough to help them learn.